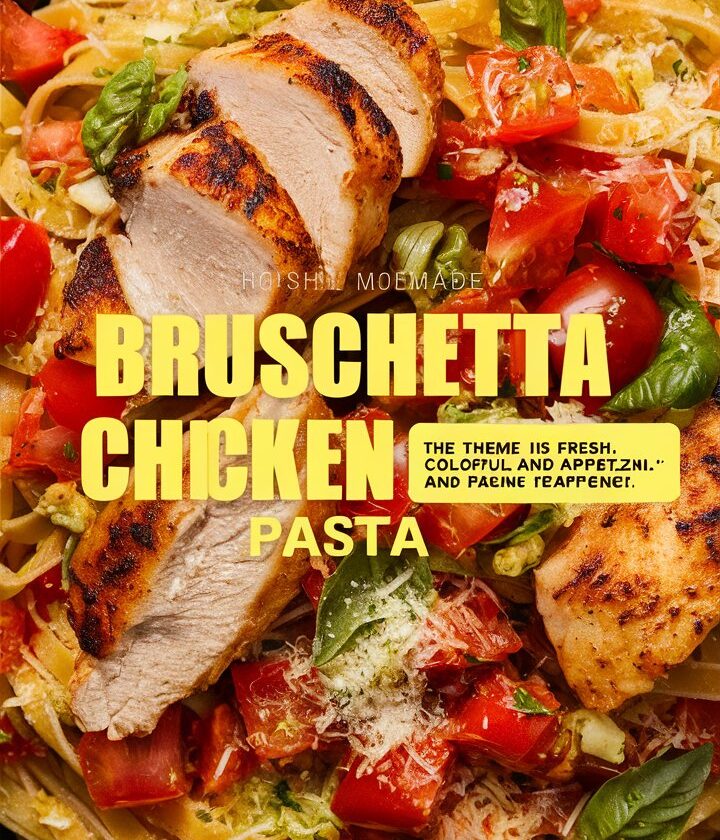
If you love the fresh, tangy bite of bruschetta and the comforting heartiness of pasta, then Bruschetta Chicken Pasta will be your new kitchen favorite. Imagine juicy grilled chicken, sweet blistered cherry tomatoes, fragrant basil, and a garlic-kissed olive oil drizzle — all tossed together with tender pasta.
It’s a dish that feels equally at home on a weeknight family table as it does on a romantic date-night menu. It’s fresh without being light on flavor, filling without being heavy, and elegant without requiring hours in the kitchen.
In this complete guide, you’ll learn:
- The best pasta shapes for this recipe and why they matter
- A step-by-step process for perfect chicken and tomatoes every time
- Flavor variations for different seasons
- How to store, reheat, and meal prep for busy schedules
- Answers to the most common questions about Bruschetta Chicken Pasta
Why You’ll Love Bruschetta Chicken Pasta
Here’s what makes this dish stand out:
- Fresh and vibrant flavors – The natural sweetness of tomatoes, the peppery punch of basil, and the savory depth of Parmesan make each bite pop.
- Balanced texture – Tender chicken, al dente pasta, and juicy tomatoes create a perfect forkful.
- Quick cooking time – With the right prep, you can have this on the table in under 35 minutes.
- Adaptable to dietary needs – Easy to make gluten-free, vegetarian, or even dairy-free.
- Restaurant quality at home – Looks and tastes like a dish from your favorite Italian bistro.
Choosing the Right Pasta for Bruschetta Chicken Pasta
While you can technically use any pasta shape, the goal is to pick one that catches the garlic oil and tomato juices for maximum flavor in every bite.
Best Options:
- Gemelli – Twists that hold onto the sauce beautifully.
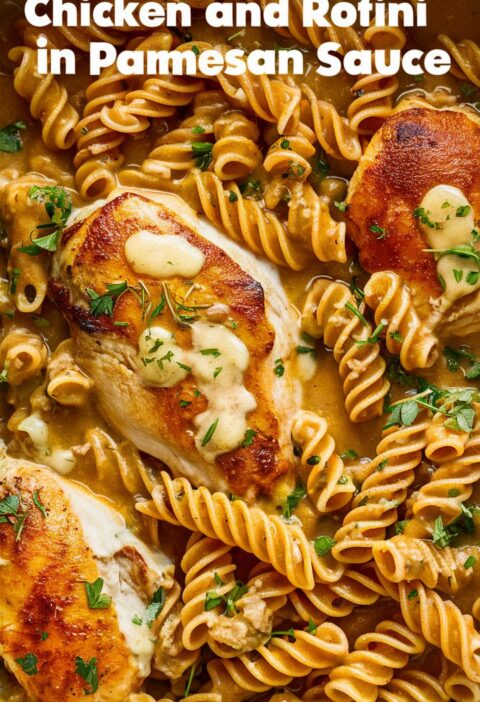
- Rotini – Spirals capture tomato bits and herbs.
- Penne – Classic shape that works with chunky toppings.
- Fusilli – Great surface area for clinging to olive oil-based sauces.
Tip: Avoid very thin pastas like angel hair, which can become soggy under the weight of the chicken and tomatoes.
Essential Ingredients and Why They Matter
Chicken Breast
Lean and protein-rich, chicken breast is the hearty centerpiece of the dish. It absorbs marinades well and grills beautifully for a slightly smoky taste.
Flavor Tip: Pound the chicken to an even thickness before marinating — this ensures it cooks evenly and stays juicy.
Cherry Tomatoes
Cherry or grape tomatoes are perfect because their natural sugars intensify when blistered. They burst in the pan, releasing sweet juices that form the heart of your sauce.
Seasonal Twist: In summer, use sun-ripened heirloom cherry tomatoes for a richer, more complex flavor.
Fresh Basil
Basil is non-negotiable here. Its fresh, peppery aroma gives the pasta its true bruschetta essence.
Always add basil at the end of cooking to preserve its fragrance.
Garlic
A quick sauté in olive oil infuses the whole dish with a subtle, savory backbone.
Olive Oil
Acts as both a marinade and a sauce base. Choose a good-quality extra-virgin olive oil for a richer flavor.
Parmesan Cheese
Adds a salty, umami kick. Freshly grated Parmigiano-Reggiano works best, but high-quality pre-grated Parmesan is fine for busy nights.
Salt and Pepper
Don’t underestimate their importance — proper seasoning transforms simple ingredients into something exceptional.
Step-by-Step Cooking Instructions
Step 1: Marinate the Chicken
- Pat chicken breasts dry with paper towels.
- Season with salt, pepper, a drizzle of olive oil, and Italian herbs if desired.
- Let marinate for at least 15 minutes (up to 2 hours in the fridge).
Step 2: Grill or Sear the Chicken
- Heat a grill pan or skillet over medium-high heat.
- Cook chicken for 5–7 minutes per side until golden brown and cooked through.
- Let rest for 5 minutes before slicing — this keeps it juicy.
Step 3: Cook the Pasta
- Bring a large pot of salted water to a boil.
- Cook pasta until just al dente (firm to the bite).
- Reserve ½ cup pasta water before draining.
Step 4: Blister the Tomatoes
- Heat olive oil in a large skillet over medium heat.
- Add minced garlic and sauté for 30 seconds until fragrant.
- Toss in cherry tomatoes and cook 5–7 minutes until they blister and release juices.
- Season with salt and pepper.
Step 5: Combine and Serve
- Add cooked pasta to the skillet with tomatoes.
- Toss well, adding a splash of pasta water if needed.
- Plate the pasta, top with sliced chicken, sprinkle with Parmesan, and scatter fresh basil leaves.
Serving Suggestions
- With Garlic Bread: Perfect for soaking up every drop of tomato and olive oil.
- Green Salad: A crisp side balances the richness.
- Wine Pairing: Try a light Pinot Grigio or a fruity Sangiovese.
- Balsamic Glaze: A drizzle over the top adds a sweet-tart contrast.
Storage & Reheating Tips
- Refrigeration: Store cooled pasta in an airtight container for up to 3 days.
- Reheating: Warm gently on the stovetop with a splash of water or olive oil.
- Freezing: Not recommended — the tomatoes and basil lose their texture when thawed.
Variations to Try
- Spicy Version – Add red pepper flakes to the garlic oil.
- Caprese Twist – Add fresh mozzarella balls before serving.
- Veggie Boost – Mix in sautéed zucchini or spinach.
- Shrimp Swap – Replace chicken with grilled shrimp for a lighter seafood option.
Frequently Asked Questions
Q: Can I use gluten-free pasta?
Yes — rice, corn, or quinoa-based pastas work well. Just avoid overcooking as they can turn mushy.
Q: Can I make it dairy-free?
Yes, simply skip the Parmesan or use a plant-based alternative.
Q: How can I make it more filling?
Add white beans or roasted vegetables for extra bulk.
Final Thoughts
Bruschetta Chicken Pasta is the ultimate blend of freshness, comfort, and versatility. With minimal prep and simple ingredients, you can create a dish that tastes like it came from a high-end Italian kitchen — all in under 40 minutes.
Whether you keep it classic or add your own twist, this recipe will quickly become a repeat favorite in your home.